


Industry News
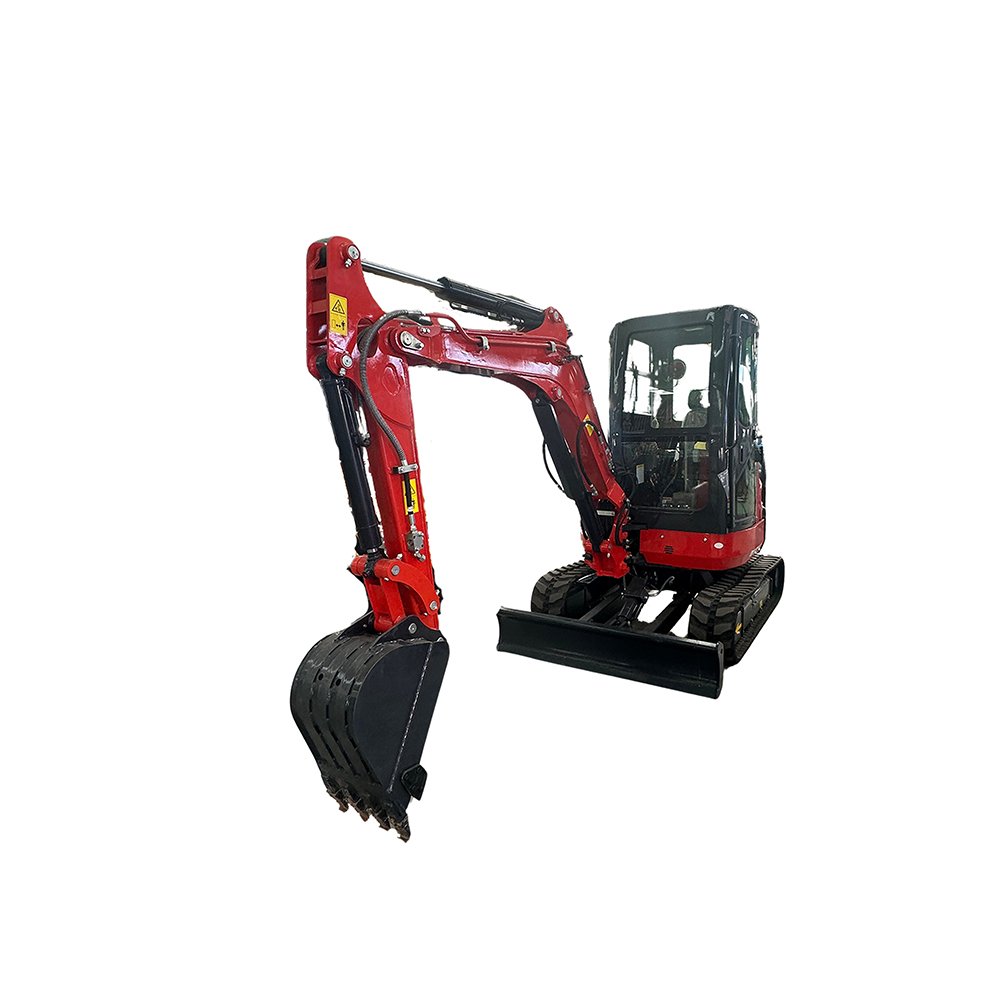
Used Mini Excavator for Sale Near Me Inspection Checklist
Apr
Your Ultimate Used Mini Excavator for Sale Near Me Inspection Checklist
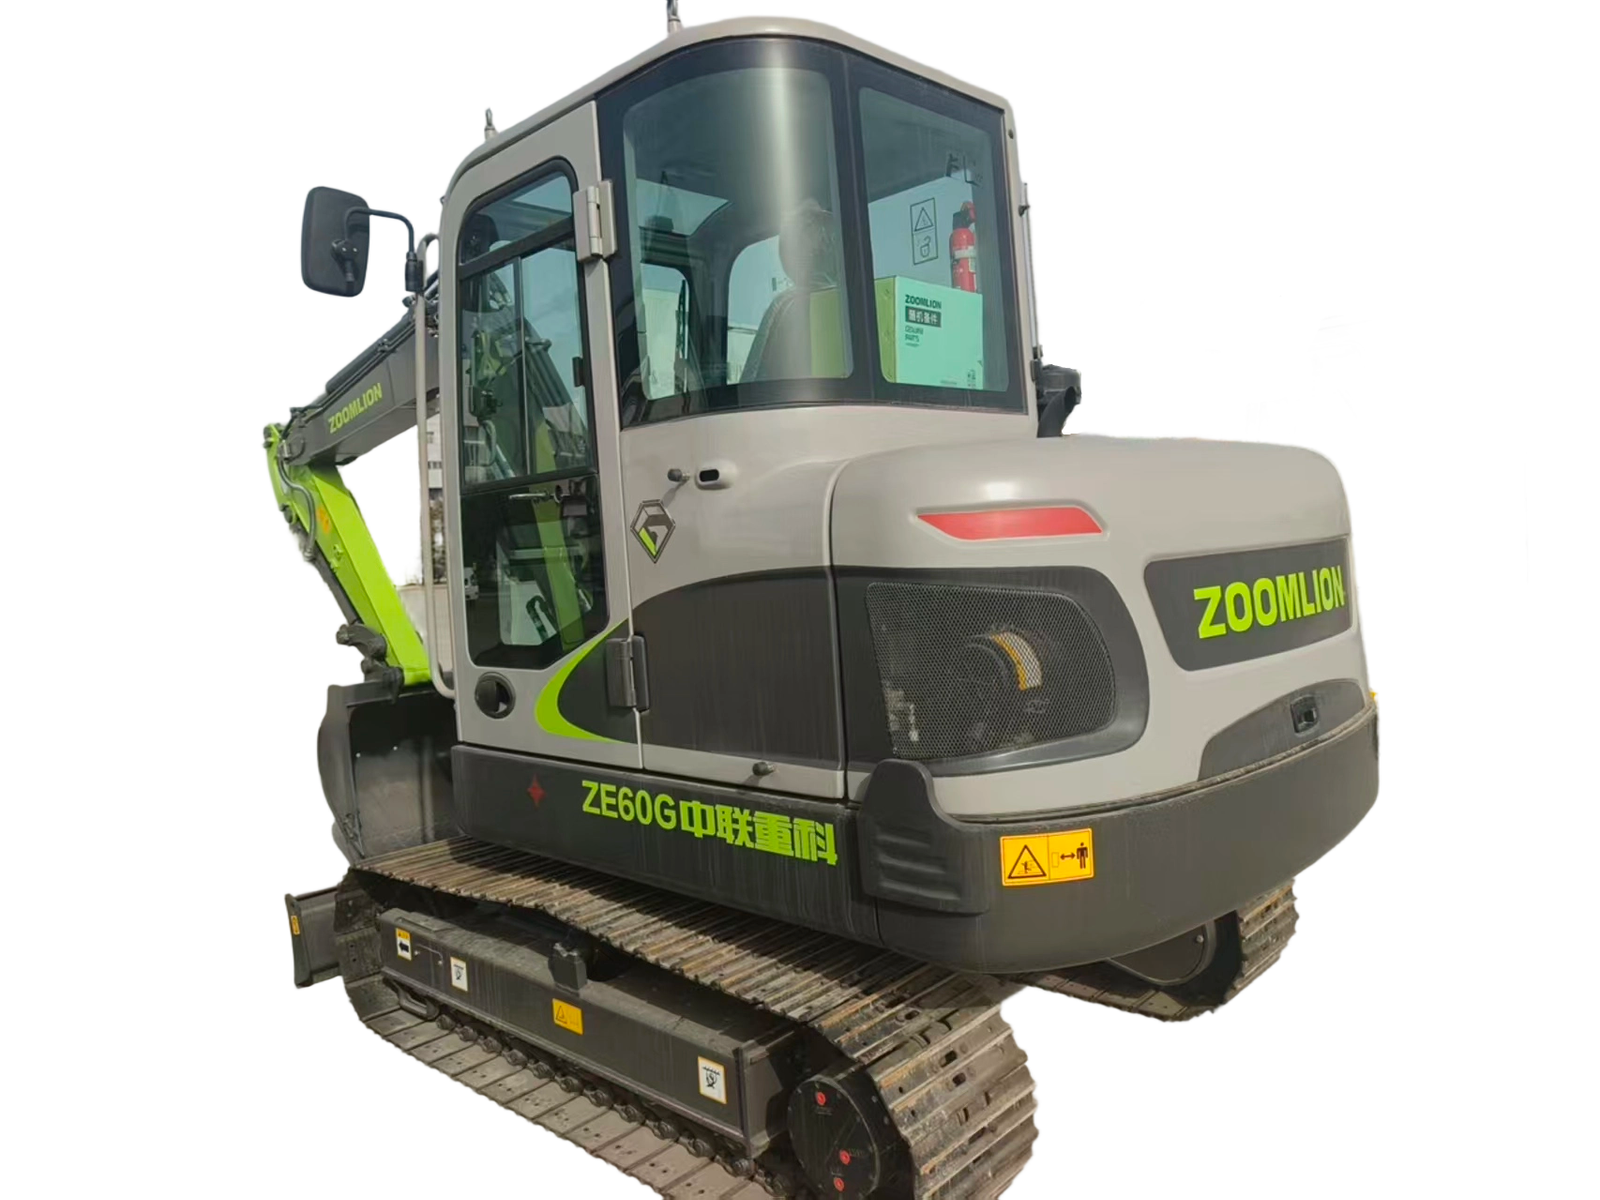
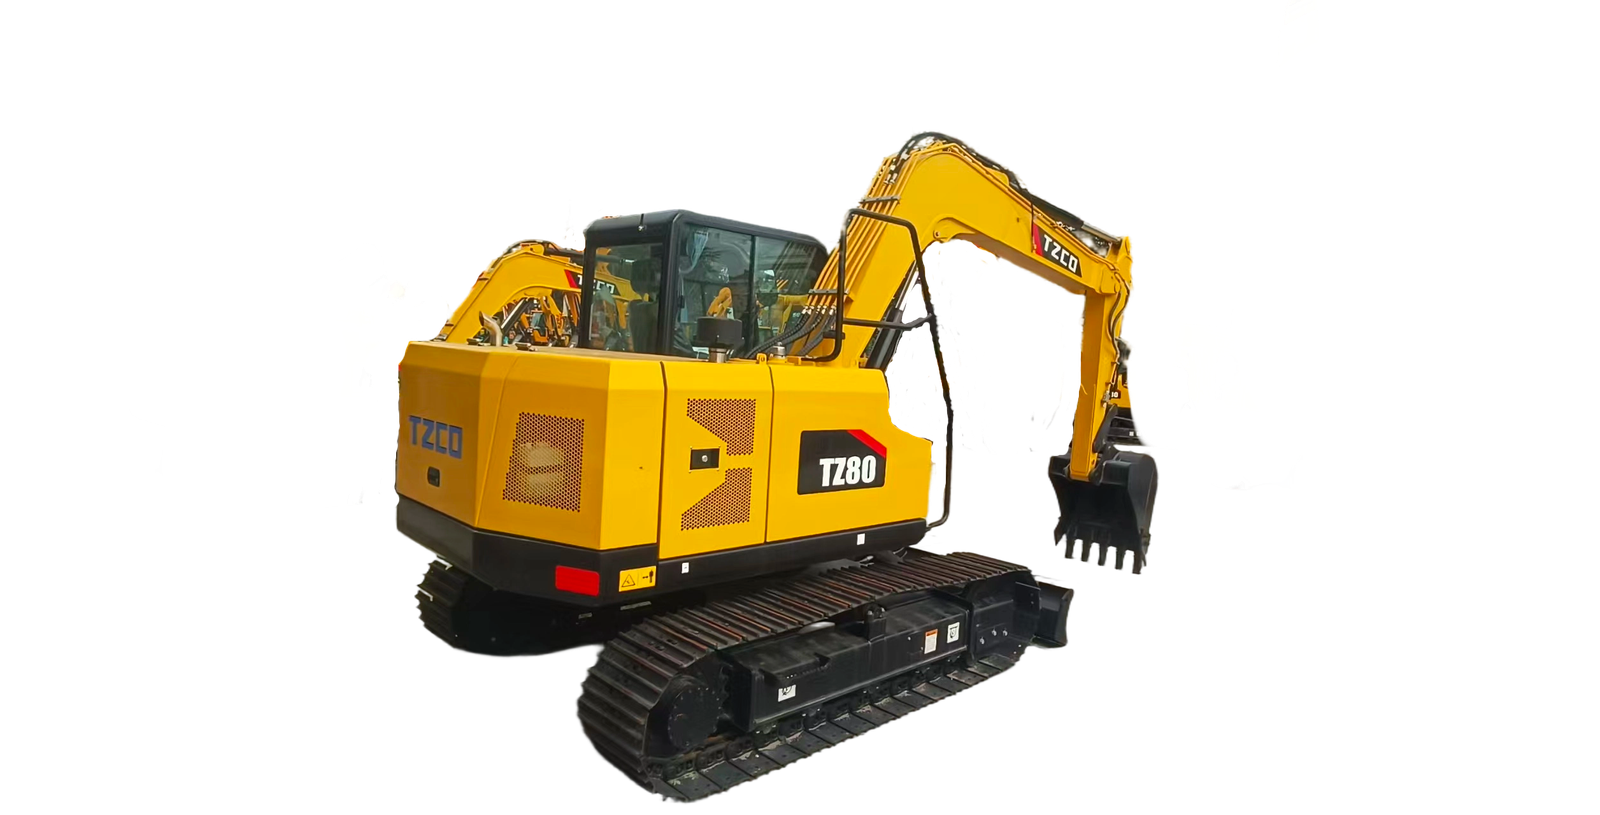
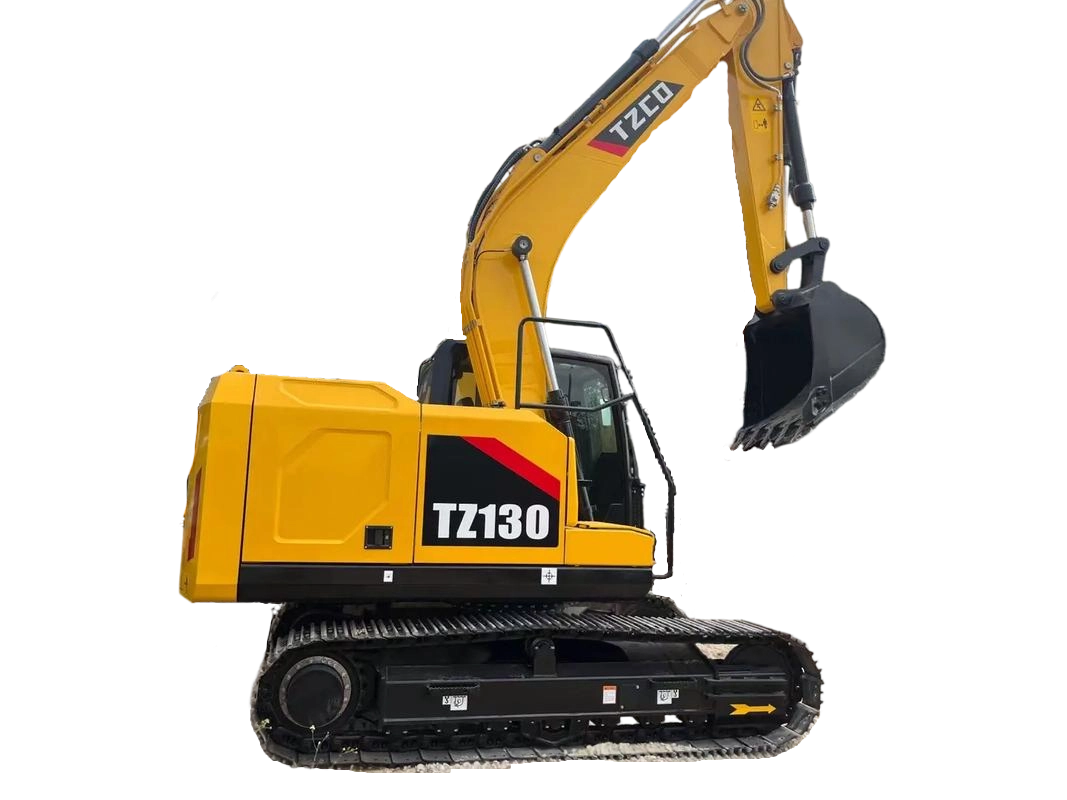
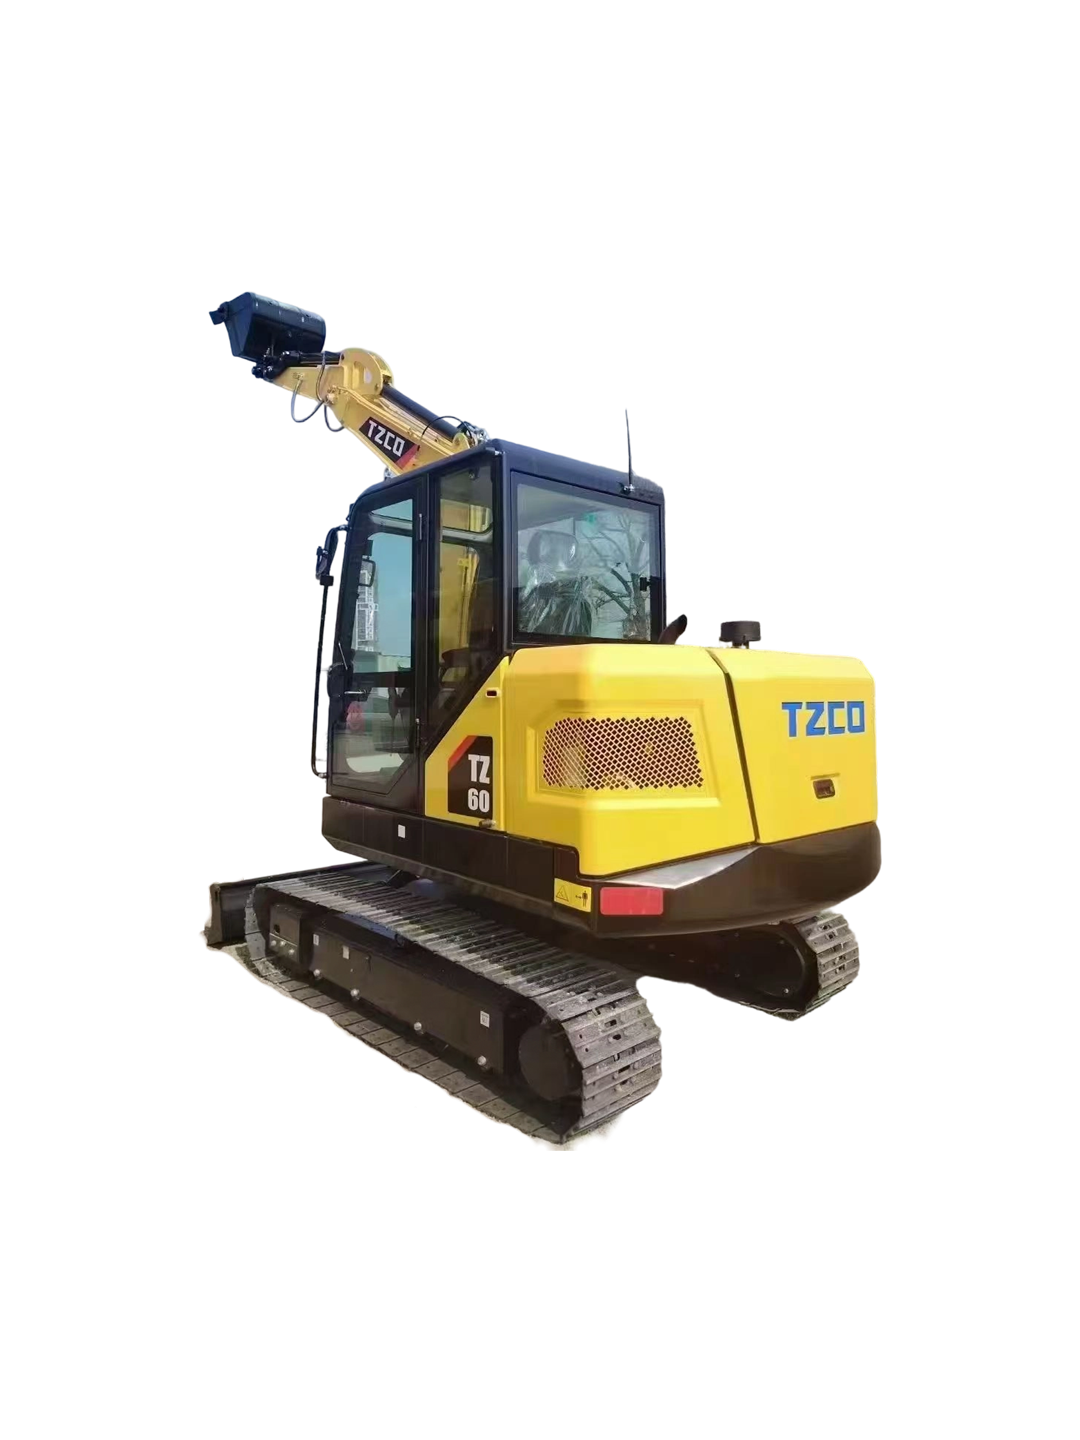
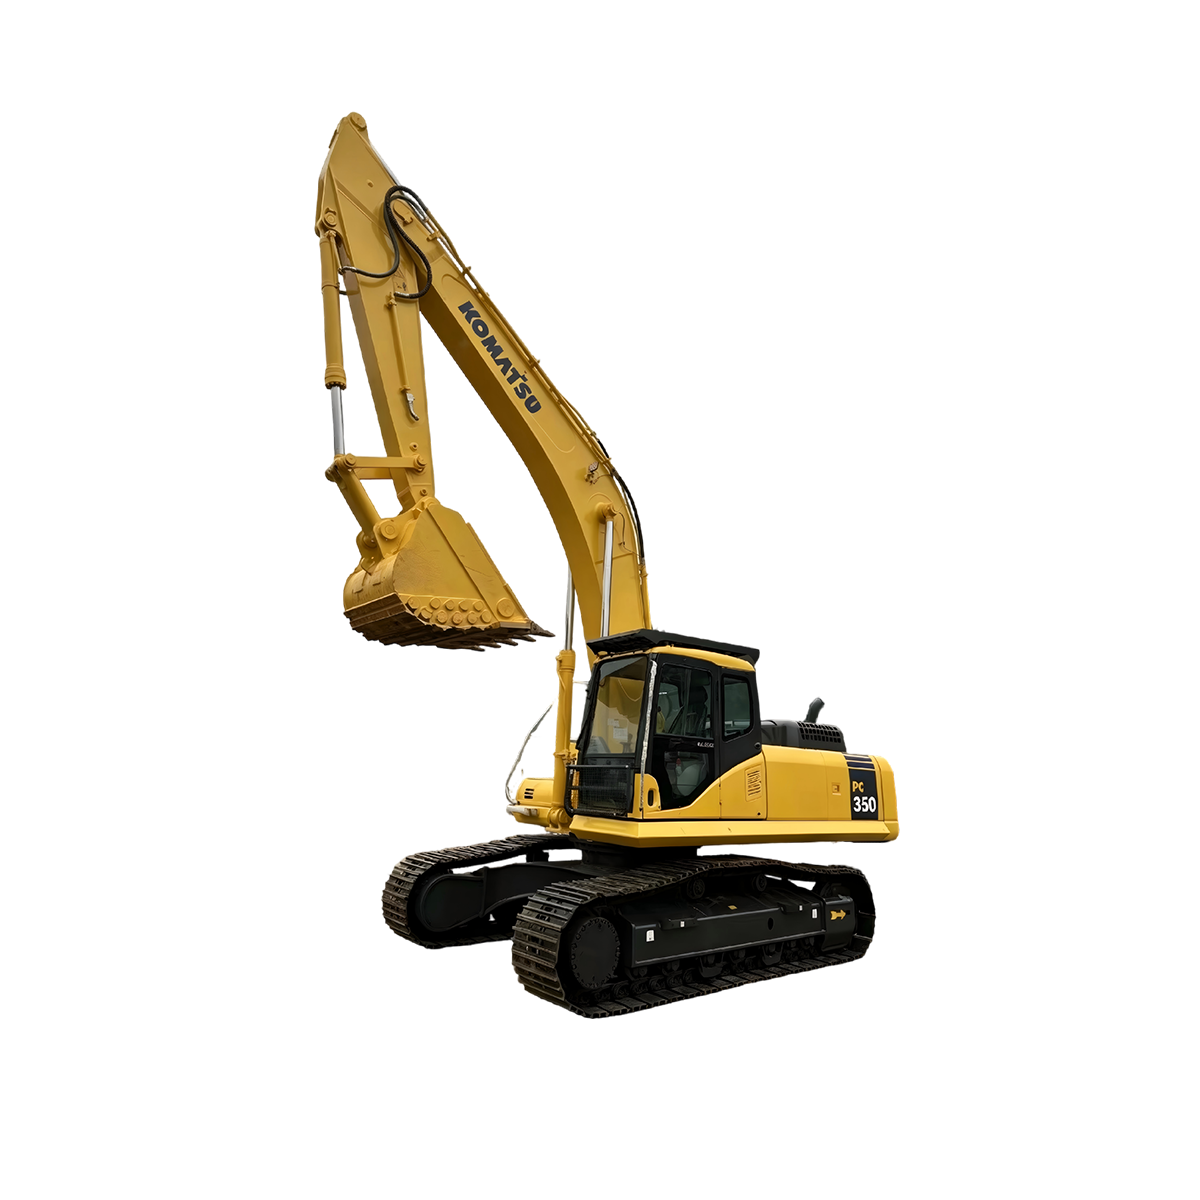
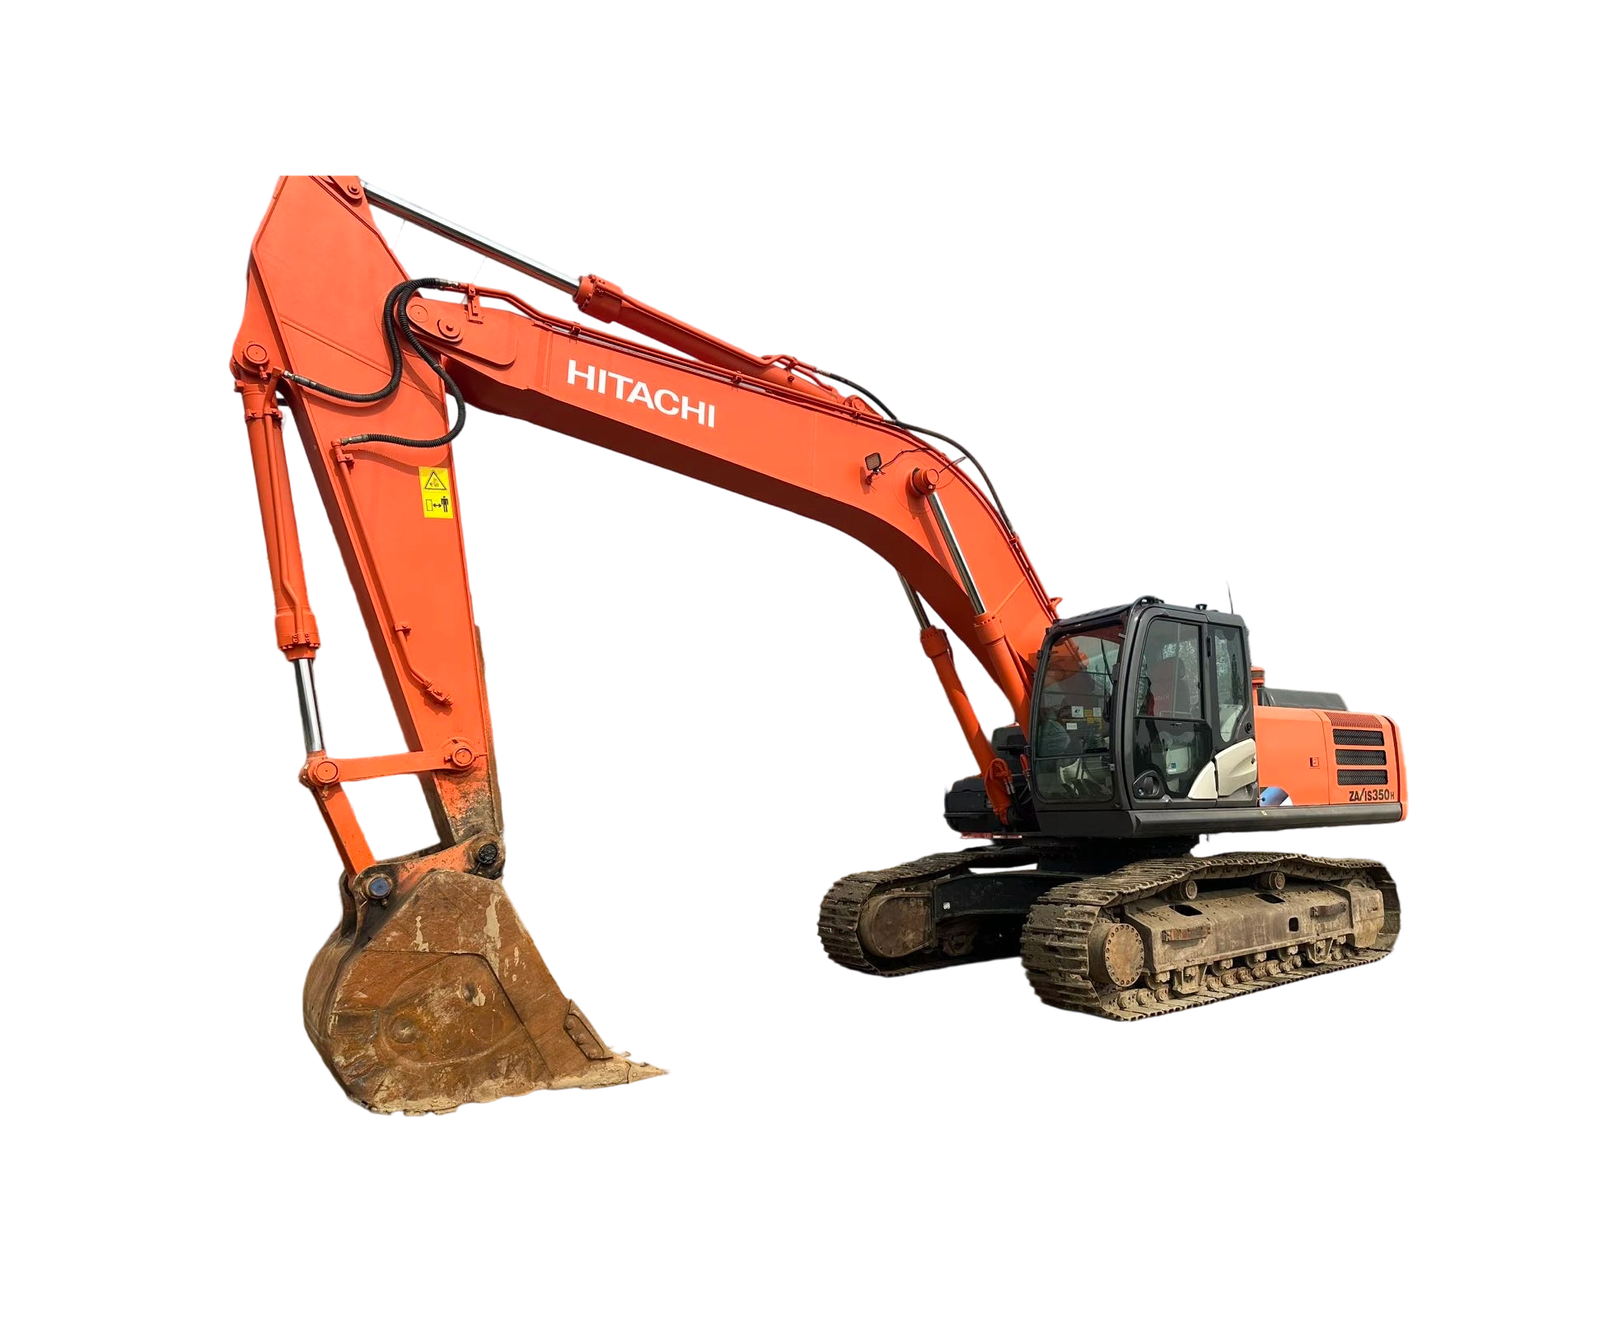
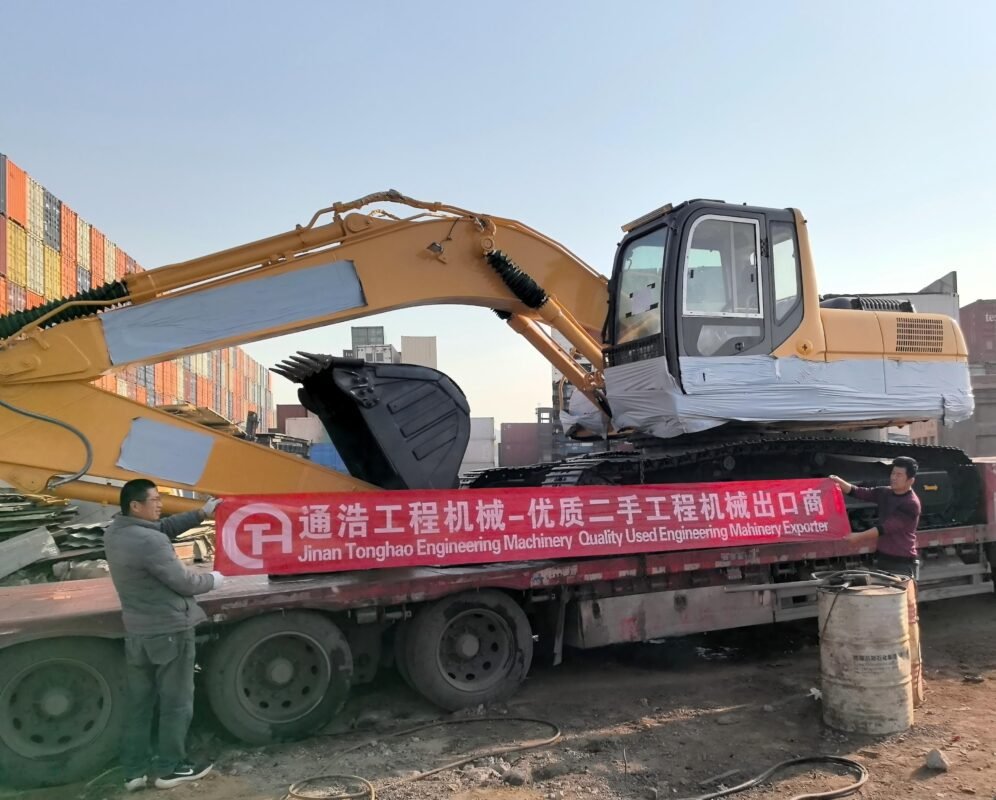
Finding a “used mini excavator for sale near me” can be an excellent way to acquire capable equipment without the steep price of a new machine. However, the key to a smart purchase lies in a thorough, systematic inspection. A rushed look-over can lead to costly repairs and downtime. This comprehensive checklist, inspired by the rigorous standards of leading dealers like THBSMN, will guide you through evaluating a used mini excavator, ensuring you invest in a machine that is reliable, productive, and worth every penny.
Phase 1: Pre-Inspection Preparation & Documentation
Before you even see the machine, your due diligence begins. Start by researching the specific make and model. Understand its common issues, typical lifespan, and parts availability. When you contact the seller—whether a private party or a dealer like THBSMN—ask critical questions: Why is it being sold? What was its primary application (e.g., landscaping, light demolition, utility work)? Can they provide full service records?
Request the machine’s serial number. This allows you to check its manufacturing date and any open recalls or service bulletins. Reputable sellers will be transparent. If service records exist, review them for patterns of regular maintenance (oil changes, filter replacements) and note any major component repairs.
Phase 2: The Visual & Structural Inspection (Cold Machine)
Begin your hands-on inspection with the machine completely off and cool. This phase is about spotting signs of wear, damage, and past life.
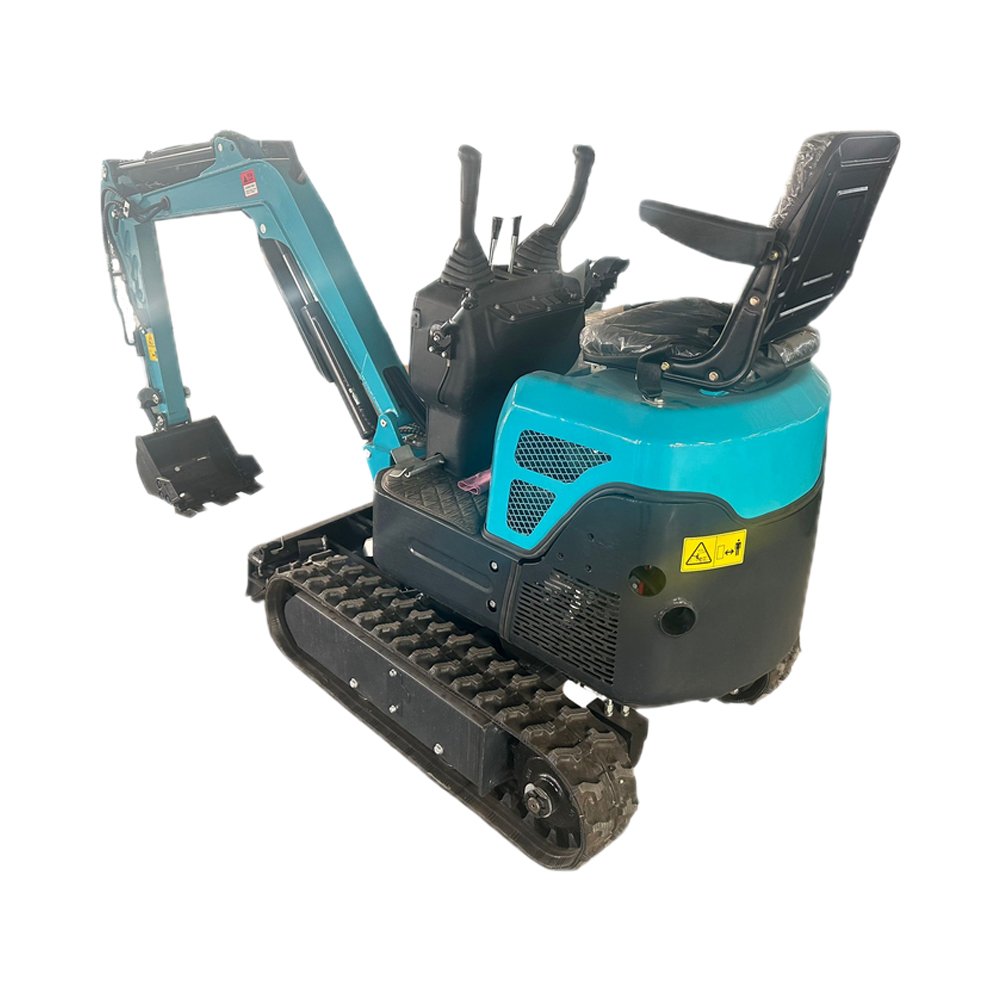
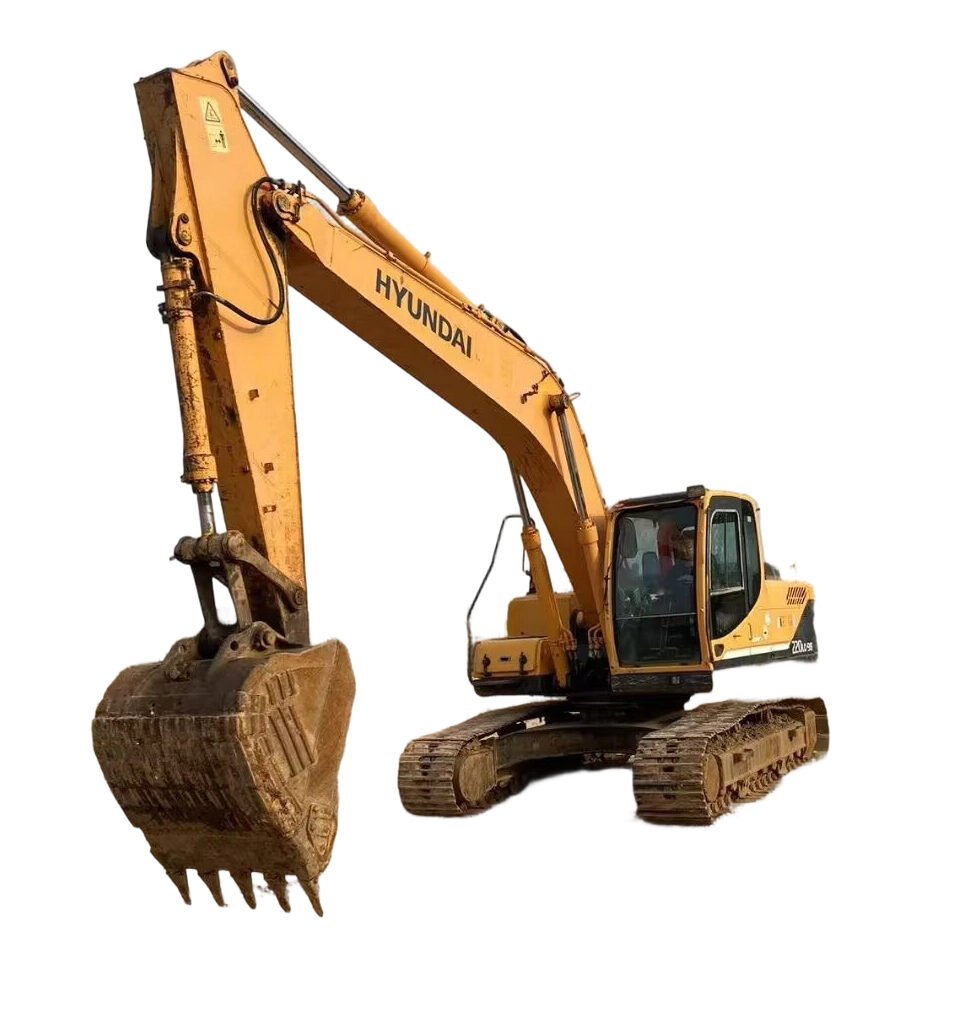
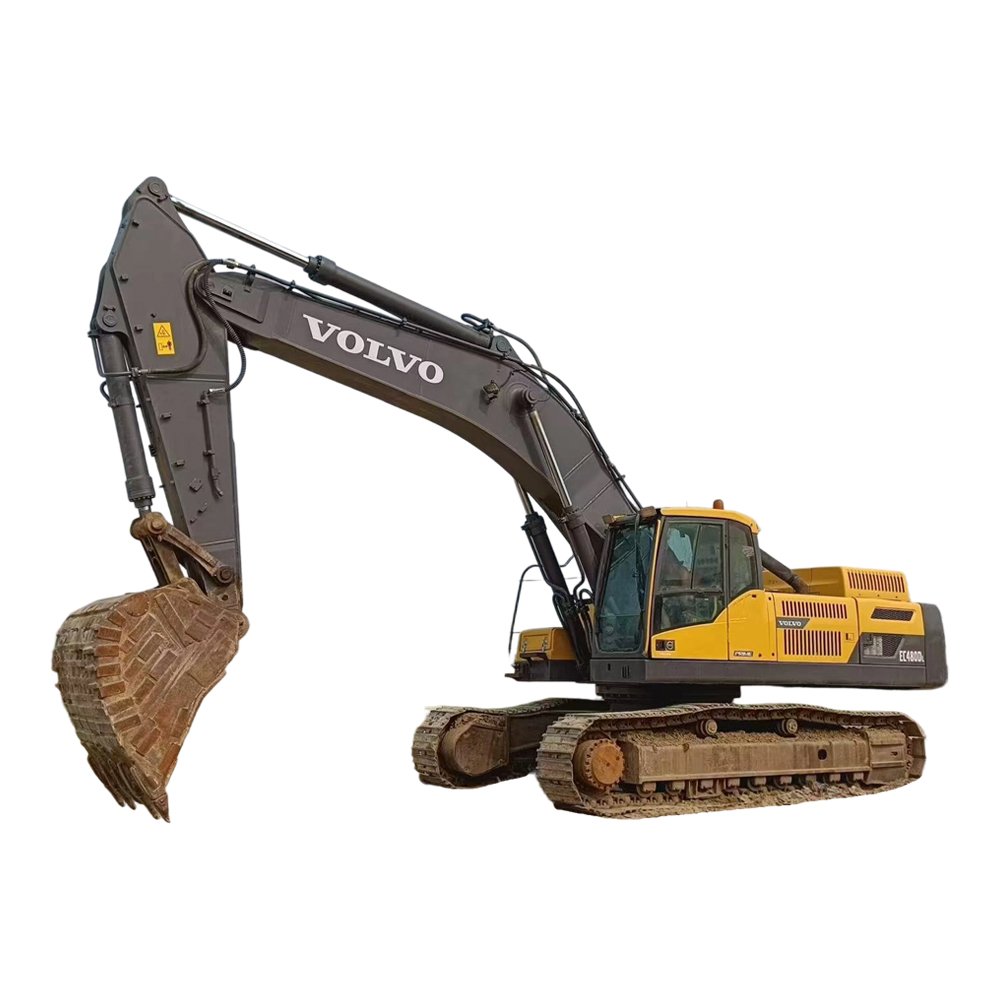
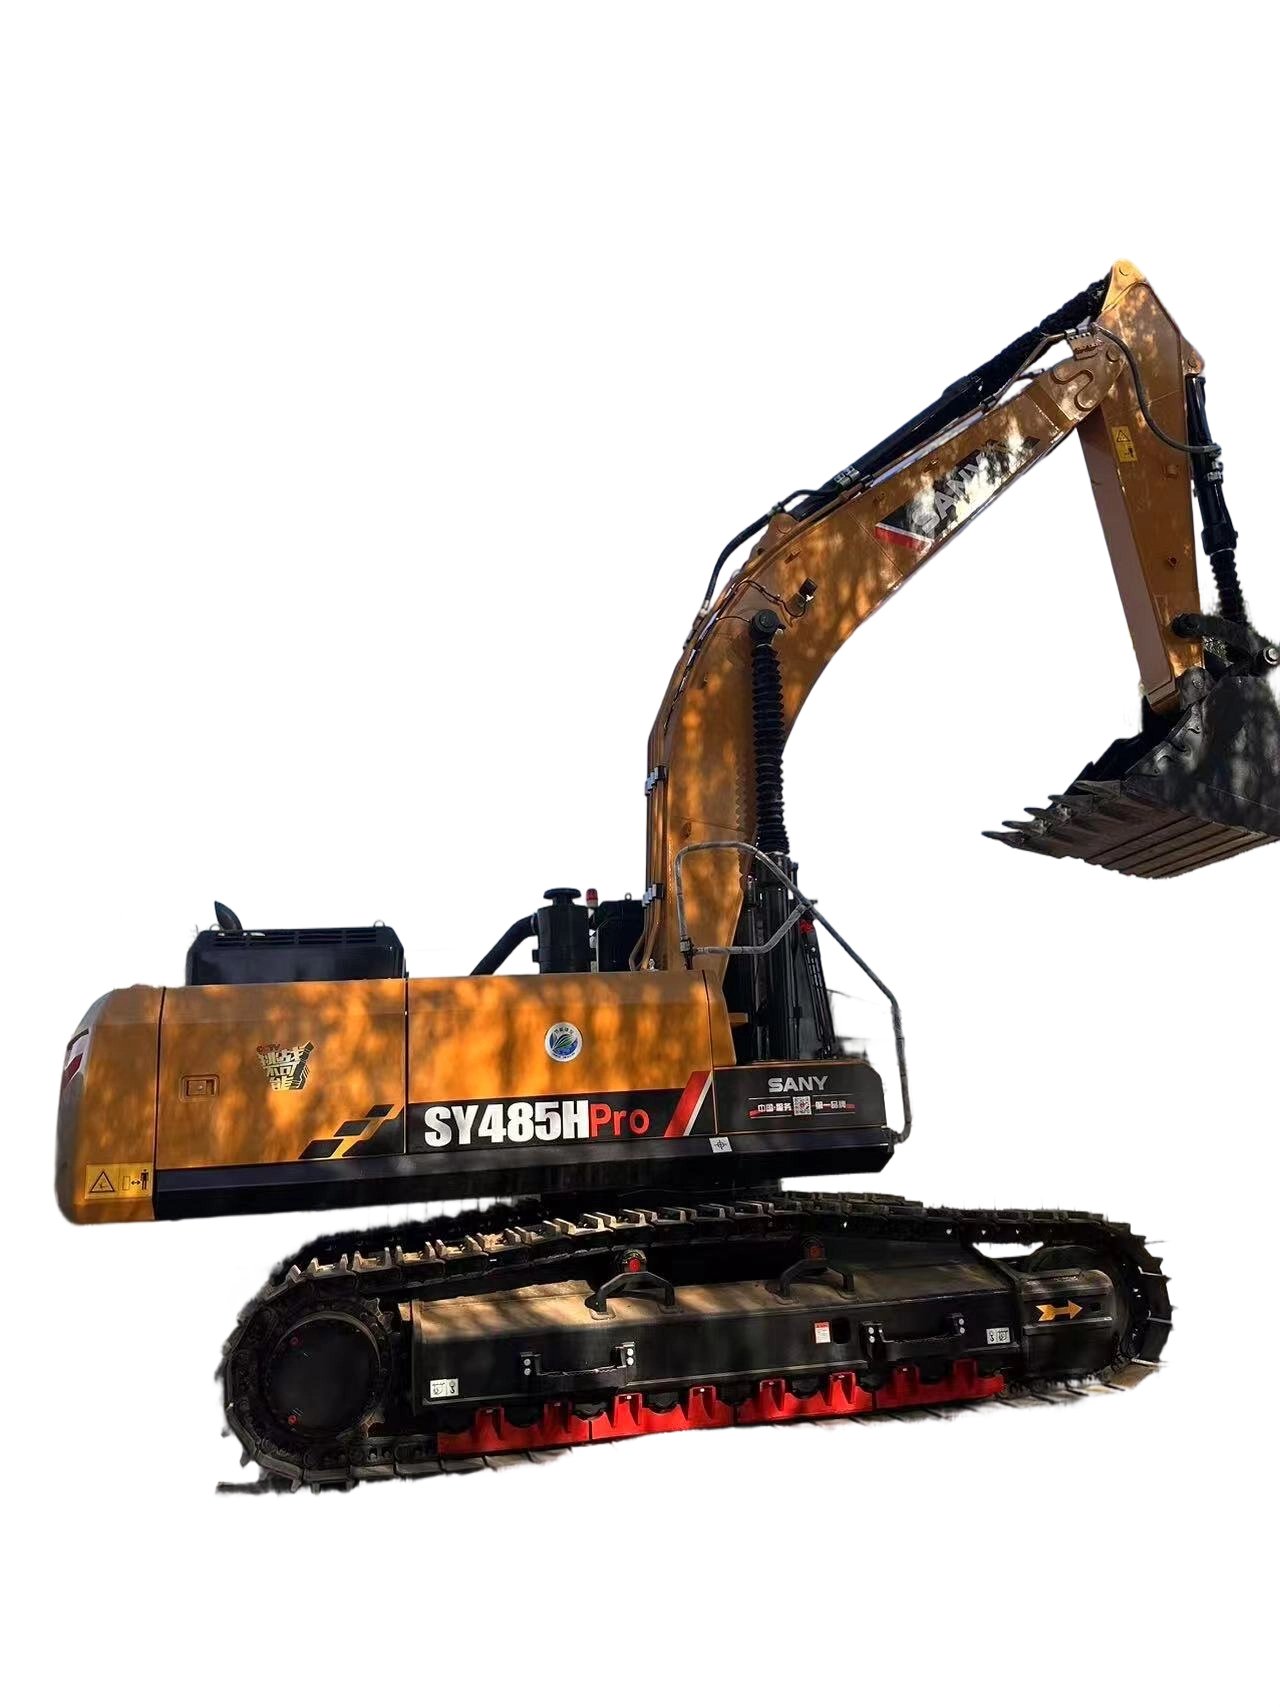
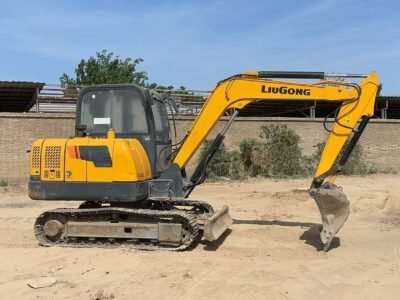
Undercarriage & Frame: This is the foundation. Check for cracks, welds, or bends in the main frame and boom. Inspect the track system: are the pads worn evenly or asymmetrically (indicating misalignment)? Measure track tension and look for excessive sag. Check the rollers, idlers, and sprockets for wear—sharp, pointed sprocket teeth or deeply grooved rollers mean significant hours and upcoming expense.
Attachments & Bucket: Examine the bucket teeth and cutting edge. Are they worn down or broken? Look at the bucket itself for cracks, especially in the corners and at weld points. Check the pivot pins and bushings for the bucket and boom; excessive play here translates directly into sloppy digging and lost efficiency.
Hydraulic System: Look for any signs of oil leaks at all hydraulic cylinders (boom, arm, bucket). Check the cylinder rods for pitting, scoring, or rust—damaged rods will ruin seals quickly. Follow all hydraulic hoses for abrasions, cracks, or bulges.
General Condition: Assess the overall cleanliness. A meticulously cared-for machine often reflects careful mechanical treatment. Look for fresh paint that might be hiding rust or repairs. Check the cab (if equipped) for condition of glass, seals, and controls.
Phase 3: Operational Inspection & Performance Test
Now, start the machine. Let it idle and listen for unusual knocks, rattles, or excessive exhaust smoke (blue smoke often indicates oil burning; black smoke can mean fuel issues). Check all warning lights go off after startup.
Engine Check: Listen for smooth operation. Test the throttle response. Check the coolant and engine oil levels and condition—milky oil can signal a serious head gasket failure.
Hydraulic Function Test: This is crucial. Operate all functions slowly and then at full speed. The movements should be smooth and powerful, not jerky or hesitant. “Creep” or drift in the boom or arm when held in position is a red flag for worn cylinder seals or valve issues. Check the hydraulic oil: it should be amber-colored, not dark, burnt, or foamy.
Swing & Drive Test: Engage the swing function. It should rotate smoothly in both directions without strange noises. Test the travel functions. Drive forward and backward, making gentle turns. The machine should track straight without pulling to one side. Listen for whining or grinding from the final drives.
Controls & Safety Features: Test all controls for responsiveness. Ensure safety locks and seat sensors are functional. Check the operation of any auxiliary hydraulic circuits.
Phase 4: The All-Important Final Verification
After the operational test, turn the machine off and do a final walk-around. Re-check for any new hydraulic leaks that may have appeared under pressure. Feel the hydraulic oil reservoir; it shouldn’t be excessively hot if the system is functioning correctly.
Finally, verify the hour meter reading. Compare it to the machine’s apparent wear. Does the undercarriage, interior, and overall condition match the hours shown? Be wary of discrepancies. If everything checks out, discuss the findings with the seller. A professional dealer like THBSMN will address concerns, often providing warranties or guaranteeing certain components, which adds significant value and peace of mind over a private sale.
Purchasing a used mini excavator is a significant investment. By methodically following this inspection checklist—from pre-visit research to a detailed operational test—you move from a hopeful buyer to an informed one. You’ll be able to distinguish between a well-maintained gem and a money pit in disguise. Remember, the goal isn’t to find a perfect machine (all used equipment has wear), but to fully understand its condition and value, ensuring your “used mini excavator for sale near me” becomes a reliable partner on your job site for years to come.